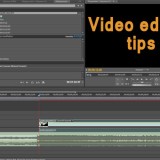
How to edit GoPro videos
We all want our movies to look great! We wan’t to capture our audience’s attention and entertain them. To achieve that, you need to learn how to edit GoPro videos and master the art of video editing.
To make a good edit you have to start with good footage, here’s a few tips to help you with that part of the process.
Time lapse
Nothing captures the impression of time passing by better than a time lapse video. Your GoPro camera is equipped with a time lapse mode that allows you to easily shoot the dozens, or even hundreds of images needed to make a nice time lapse. You can choose the interval at which the camera will take the pictures and just let it do it’s thing. Then using your favorite video editing software, you can put all these images into a movie.
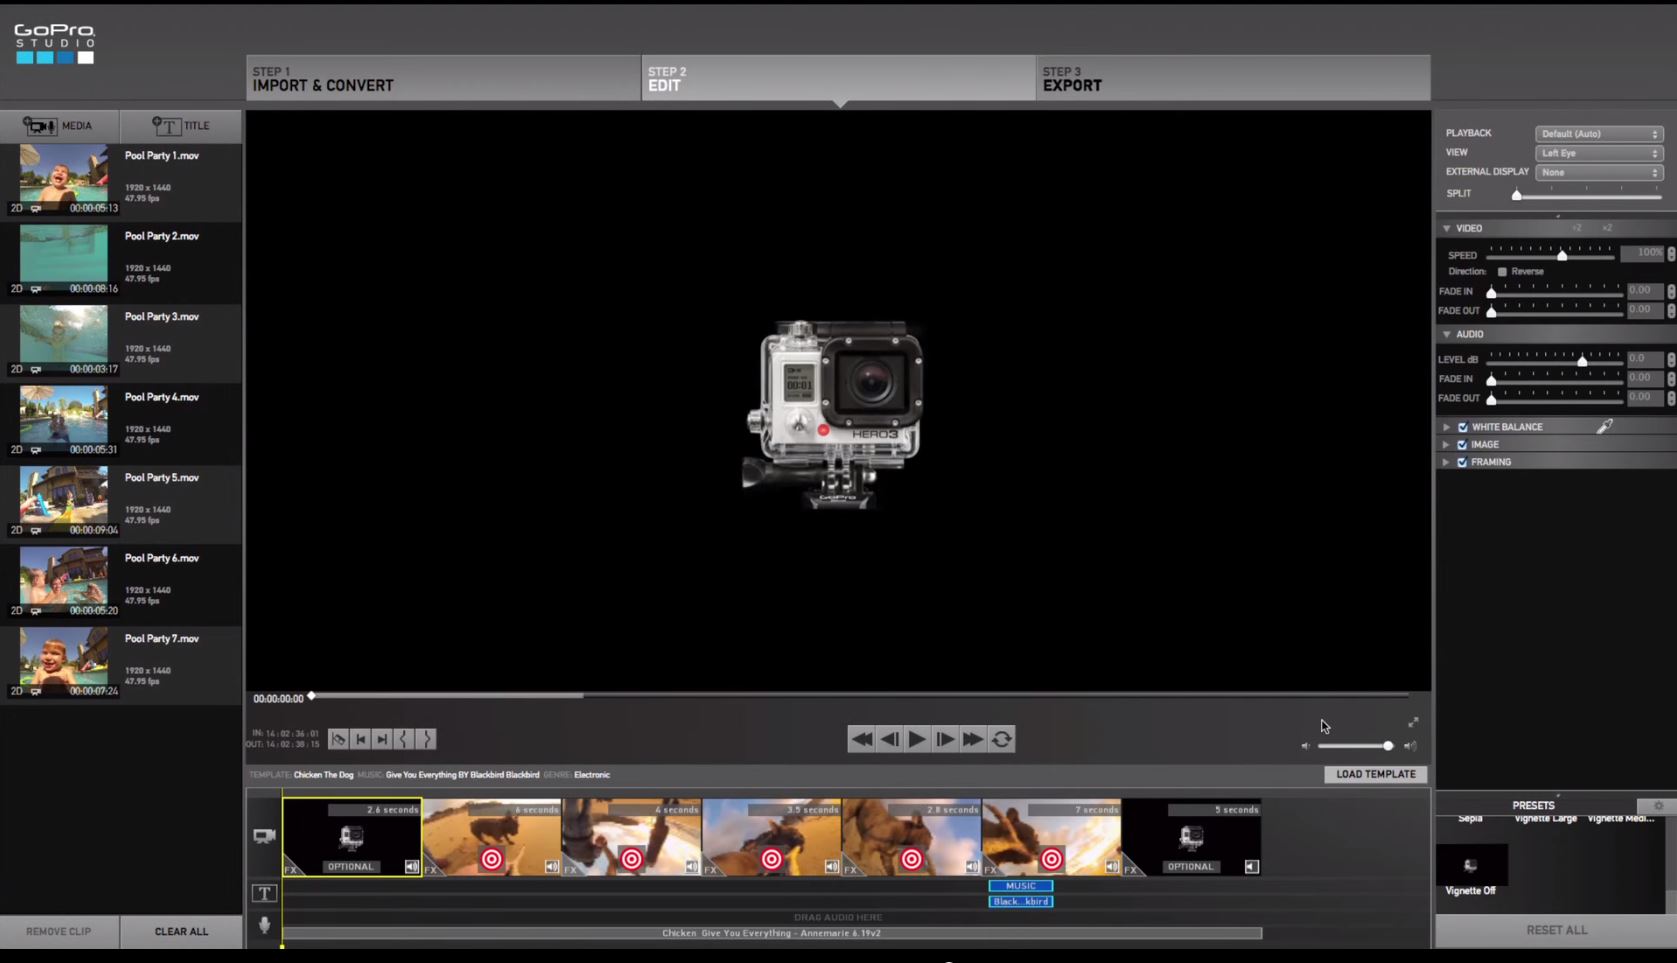
This task can easily be done with one of our favorite GoPro video editing software: Adobe Premiere Elements 14. Simply import all your files in a folder on your computer, then open Premiere Elements, in the file menu select “Get media from” and select files and folder. Then locate the folder with the images you want to work with, select the first image and on the dialog box check the box that says “Numbered Stills”. It’s that easy!!!
Premiere has imported and converted your images into a movie. You can then edit the lenth and other aspect of the sequence, but the import portion is that easy with Premiere Elements.
Read our complete review of Adobe Premiere Elements here.
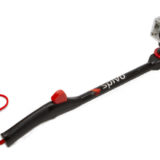
Vary the POV
GoPro cameras can be mounted to just about anything, you have to take advantage of that and vary your filming position. An onboard racing motorcycle clip is great, but after some time, it becomes boring if there’s no other point of view showed in the movie. Take the time to change the mount position, experiment with different angles, take the camera in your hand to shoot a quick pano…
Make sure to include other clips into your movie to make it more interesting.
Water proof
Remember that one of the coolest feature of a GoPro camera is that it’s not afraid of water! When shooting a video on a location where there’s a water surface, be sure to take advantage of that. The GoPro’s unique point of view is immersive and allows you to really embarque the viewer into whatever you are shooting, when it’s possible, include a quick dip in water for a cool effect.
Protune = on
To use Protune or not? That’s a good question and here’s the simple answer, if you want the best video quality and don’t mind the extra (little) post-processing work: turn it on. If you are not sure you understand what is Protune, we have a complete article written on the subject here.
How to edit GoPro videos
Now let’s look at the process we use to make great GoPro videos, from the raw footage being imported to your computer to the final rendering, this article was written to help you get better results in less time.
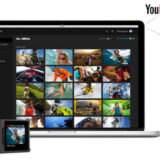
Organize and tag
Depending on the planning and/or scenario you have been following you might already have a pretty good idea on how you are going to put the scenes you filmed together.
Even if you did follow a plan, you still need to identify every clip with a name or a description. Most editing software allow you to do this once the clip is imported into the software, but I find it easier to rename the actual files with a name that makes more sense than just GOPR4433.MP4. If you are using an adobe product (Adobe Premiere Pro or Elements), it’s easy to do a batch rename with Adobe Bridge.
Colors and light adjustments
If you have captured footage from various locations or under different lights, you probably ended up with clips that have a color temp varying between one another. Once the clips are imported into the video editing software, take the time to make the adjustments and corrections.
In Pinnacle Studio, this can be done with the Effects Editor. Other video editing software have different name for these, but look under adjustments or affects and you should be able to find it quickly.
If you shot your clips with Protune turned on, you will need to add color vibrance and contrast to your edit to give it the look we are looking for.
Start by adding vibrance and using the gamma correction to add a little pop to your clip. Then adjust the contrast to make the blacks look darker and the whites a little lighter.
To give your GoPro video the “GoPro” look you see on youtube, I suggest you also sharpen you video. Don’t over do this, as thing will start to look odd.
Slow/fast motions
Increasing or decreasing the frame rate of your video can be a very interesting effect. Like with everything in life, don’t over do it. To much slow motion in a movie really gets boring.
A few rules to follow
I don’t remember where I read that quote for the first time but it really resonated with me: “kown all the rules, then break all the rules”. The following list is a compilation of rules to follow in your video editing projects, there’s no golden rule on how to edit gopro videos, but these should be helpful.
Keep it short: Advertisers and all the media companies are fighting for our attention. We want to see it all in no time. On the internet, a 60 second clip is a long clip. Keep that in mind when you are doing your editing and try to keep your movies as short as possible.
Keep the tempo up: Always try to keep the pacing and tempo of you video. Don’t let it go down unless there is a big up-tempo effect coming soon, or else you will loose the attention of your audience.
Use J-Cut: Without getting to technical, a J-Cut is when you hear something before you see the corresponding image of the clip. This technique is used all the time in movie previews and you should use it in your own editing as well. Don’t over do it or it will loose it’s charm.
Check out examples of J-Cuts here. https://vimeo.com/blog/post/j-cuts-l-cuts
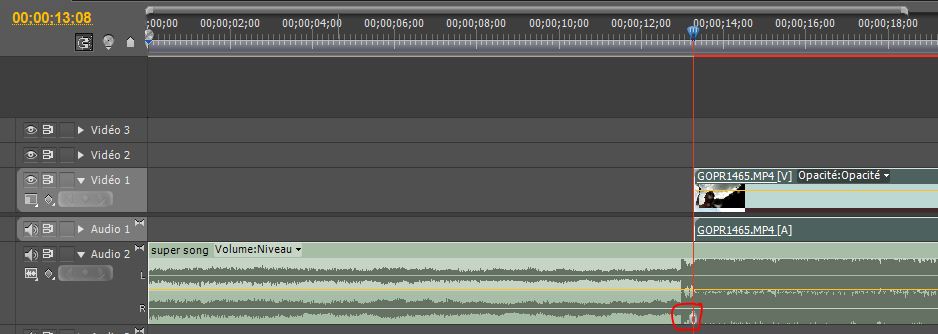
Use markers on your audio tracks: You see this all the time in GoPro videos, the song is quiet for a while and then the drum kicks in at the same time as the rider lands a big jump. Seems like the song is perfect for that sequence. Ever wondered how they do this? Use markers to identify when the drums kicks in or the crescendo in the song. Then line up your clips with the markers. Here’s an exemple from Adobe Premiere.
In conclusion, the best advice we can give you is to take your time. Video editing is a lenthy process. It takes a lot of time! But remember that once you have hit that render button and published your film, there’s no turning back. You can’t just go in and change a sentence like you would do in a blog post for exemple. It has to be good the first time. So take your time and don’t do it if you are in a rush, the results would show.
Here’s an example of a good edit of a great GoPro video.People making these surely know how to edit GoPro videos.
If you are not sure what would be the best GoPro editing software for your, check out our recommendations.